
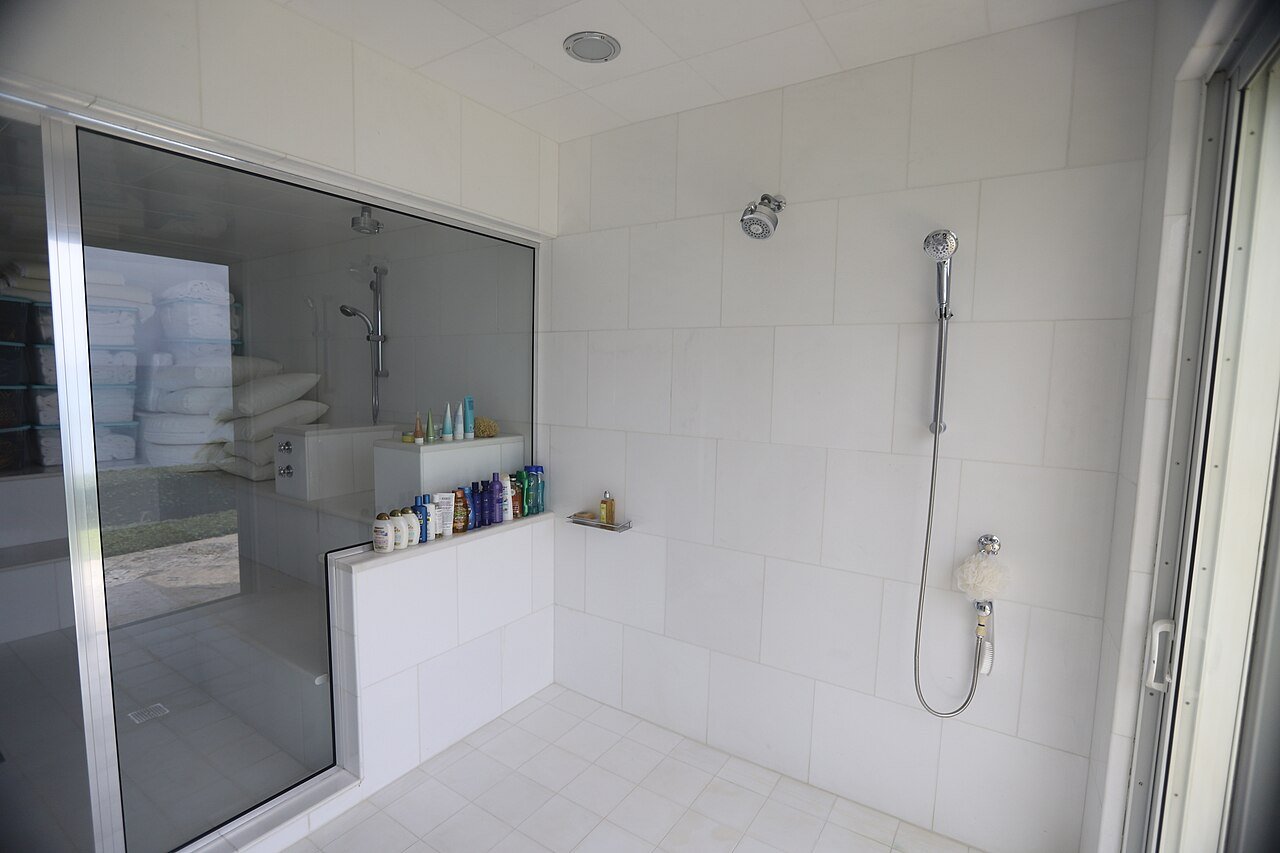
To clean shower tiles, rinse the walls with warm water, spray the right cleaner for your tile type, let it sit for 10 to 20 minutes, scrub gently with a soft brush, rinse fully, and dry the surface. Ceramic and porcelain handle a diluted vinegar spray. Natural stone such as marble and travertine needs a pH-neutral cleaner only, because acid etches stone.
That short version covers most showers. The detail matters because the wrong cleaner can dull a finish in one afternoon. Our installers at BGM Construction build and repair tiled showers across the Niagara Region, and the damage we meet most often comes from cleaning, not from wear. This guide walks through how to clean shower tiles by material, how to restore grout, and how to tell when a shower needs more than cleaning.
Why Shower Tiles Get Dirty So Fast
Four things build up in a working shower. Soap scum forms when the fatty acids in bar soap react with minerals in the water, leaving a white, chalky film on tile, grout and glass. Hard water deposits are the crusty calcium and magnesium stains left behind each time water dries on the surface. Mould grows in grout lines, corners and silicone joints where moisture lingers. Body oils and conditioner leave a thin, slippery layer that makes clean tile feel filmy underfoot.
Each problem answers to a different cleaner, which is why one all-purpose spray rarely finishes the job. Grout suffers first and looks worst. It is porous and rough, so it traps scum and moisture in tiny holes and darkens while the tiles beside it still look decent. Once you understand how to clean tile shower walls in the right order, the rest of the job is matching the cleaner to the material.
Know Your Tile Type Before You Clean
The method for how to clean shower tiles changes with the material, so identify your tile before you spray anything.

Ceramic tile is the most forgiving. Its glazed surface tolerates mild acids such as diluted vinegar and shrugs off most household cleaners. Porcelain is denser and less porous than ceramic, which makes it durable and happy with the same gentle routine. Glass tile cleans easily with a non-abrasive glass cleaner and dislikes gritty pads that can scratch its face.
Natural stone sits in a different class. Marble, travertine, limestone and slate are porous, calcium-based materials. Acidic cleaners etch them, and the damage is permanent. Stone needs pH-neutral products, soft cloths and a sealer that gets renewed on schedule. If you cannot name your tile type, treat the shower as stone and use the gentle routine until you know more.
What You Need Before You Start
Gather these supplies before you start:
- Window open or the exhaust fan running for ventilation
- Spray bottle
- Baking soda
- White vinegar (ceramic and porcelain only, never stone)
- Mild dish soap
- Hydrogen peroxide, 3 percent, for grout
- A pH-neutral cleaner made for natural stone (stone showers only)
- Soft brush, a grout brush or an old toothbrush
- Non-scratch sponge
- Microfibre cloths
- Squeegee
- Rubber gloves
- Penetrating sealer for grout and stone
Skip wire brushes, steel wool and scouring pads. They scratch glazed tile, tear the face off grout and leave polished stone covered in fine marks. Damaged grout then collects dirt faster than it did before.
How to Clean Shower Tiles, Step by Step
Work in small sections, roughly one wall at a time, and test any new cleaner on a small hidden spot first. This routine is how to clean shower tiles for a regular deep clean, whatever the enclosure size.
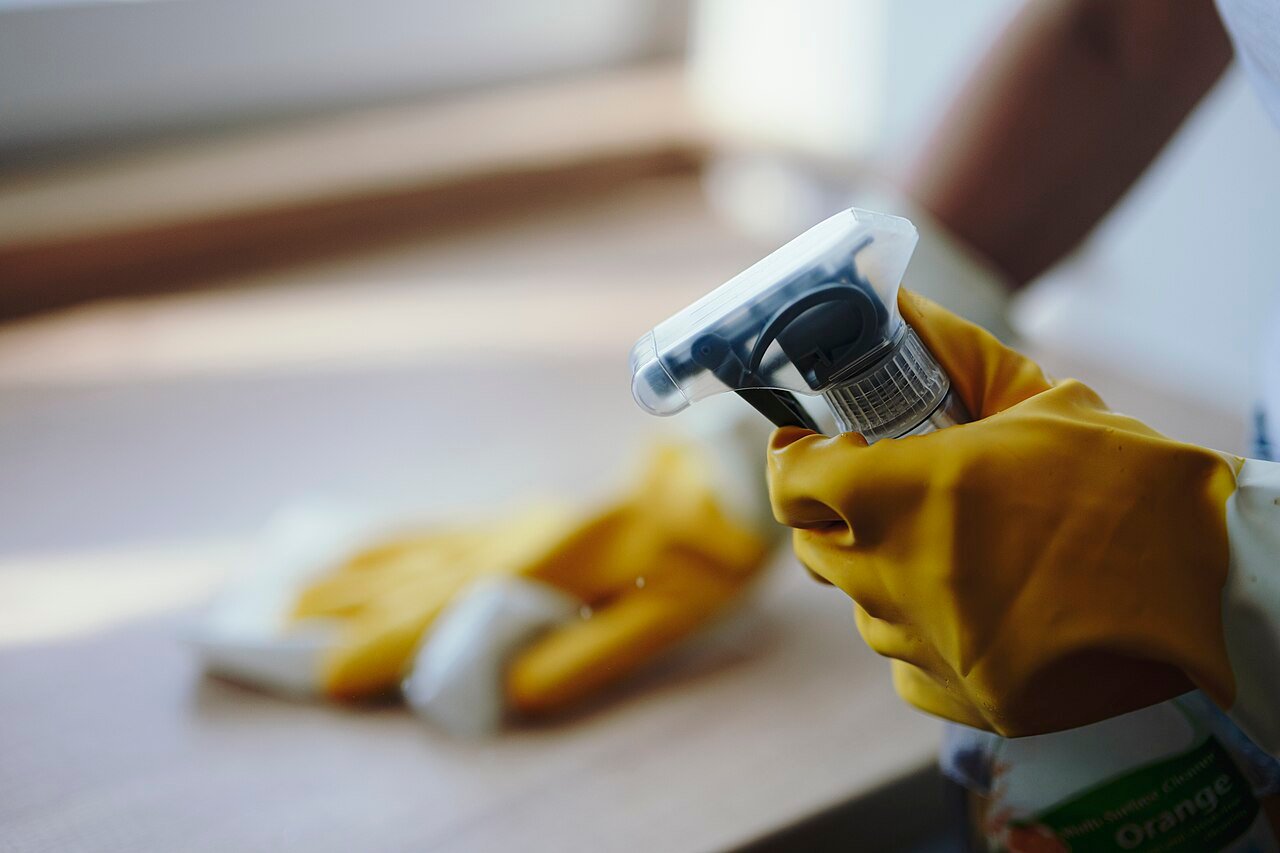
- Ventilate the bathroom. Open a window or run the exhaust fan so moisture and cleaner fumes leave the room while you work.
- Wet the tiles. Run the shower hot for a few minutes with the door closed. Steam and warm water loosen dried soap scum and soften mineral deposits.
- Spray your cleaner. Use diluted white vinegar in warm water for ceramic or porcelain, dish soap in warm water for a light clean, and a pH-neutral stone cleaner for natural stone.
- Let it sit. Give the cleaner 10 to 20 minutes on the surface. Dwell time breaks down buildup so your brush does less work.
- Scrub gently. Work in small circles with the soft brush or sponge. Pay extra attention to the lower third of the walls, corners and the lines around taps, where water pools and film grows thickest.
- Rinse fully. Leftover cleaner is the main reason tiles dry cloudy. Rinse with warm water until the surface feels smooth under your fingertips.
- Dry the tiles. Wipe with a microfibre cloth or pull a squeegee down every wall. Drying is the step people skip, and it is the step that stops new water spots from forming the same day.
Heavy buildup may need a second pass on the worst areas. A gentle second round beats one hard scrub with a stronger product.
Cleaning Porcelain and Ceramic Shower Tiles
Porcelain and ceramic carry most of the showers we tile in Niagara homes, and both forgive honest cleaning. Homeowners often ask how to clean porcelain tile shower walls without dulling the glaze. Warmth, a mild acid and patience do the work.
Spray a mix of equal parts white vinegar and warm water over the walls and let it sit for 10 to 15 minutes. Warm vinegar dissolves soap scum faster than cold vinegar. For thick, layered buildup, repeat the spray once before you scrub. Spread a paste of three parts baking soda to one part water on stained areas and grout lines. The paste lifts grime as you brush, and it fizzes lightly where it meets the vinegar, which helps loosen dirt from the surface.
Scrub with a non-abrasive sponge in circles, rinse until the tile feels smooth, and dry. Keep two cautions in mind. Diluted vinegar belongs on the tile face, so rinse grout lines well and avoid soaking unsealed grout in acid again and again, because acid slowly wears grout down. And keep vinegar away from dark, bronze or matte metal fixtures, because acid can strip their finish. The same routine answers how to clean bathroom tiles on walls outside the shower, with one change: work from a bucket and cloth where no showerhead can rinse for you.
Cleaning Marble, Travertine and Other Natural Stone
The rules for how to clean shower tiles change completely when the tile is stone. Marble, travertine and limestone are built from calcium carbonate, and acid reacts with that calcium on contact. The result is an etch: a dull spot, pale ring or rough patch burned into the surface. An etch is not a stain sitting on the stone. It is the surface itself, altered. No amount of extra cleaning removes it, and deep etching needs professional honing to repair. Our marble work team gets called in after exactly this mistake, most often a vinegar spray used on a marble shower.

Clean stone this way instead:
- Wipe the tiles with warm water and a soft cloth to lift surface residue. Skip the steaming step, because strong heat can stress some stone.
- Wash with a pH-neutral stone cleaner, or a few drops of mild dish soap in a bowl of warm water. Work in gentle, straight strokes on polished stone, since hard circular scrubbing can leave swirl marks.
- Clean grout lines with a soft nylon brush and the same mild solution.
- Rinse and dry right away. Stone absorbs water, and standing moisture leads to stains and a white, powdery haze called efflorescence.
- Reseal every 6 to 12 months. When water stops beading on the surface and soaks in instead, the sealer has worn off and the stone is unprotected.
A baking soda paste can draw a mineral stain out of stone. Spread the paste over the stain, cover it with plastic wrap, and leave it for several hours or overnight before you wipe it clean. Treat that as an occasional remedy, not a weekly routine, and rinse the area well.
How to Clean Tile Grout in a Shower
Clean tiles with dark grout still read as a dirty shower, so grout deserves its own routine. The method for how to clean tile grout depends on how far the staining has gone.
For routine cleaning, spread a paste of three parts baking soda to one part water along the grout lines. Scrub with a grout brush or toothbrush using short strokes along the line, not across it, because scrubbing across the line wears the grout face down over time. Rinse and dry.
For stained or discoloured grout, mix baking soda with 3 percent hydrogen peroxide into a spreadable paste and add a few drops of dish soap for greasy areas. Apply it along the lines, let it sit for 10 to 15 minutes, or up to 30 minutes on dark stains, then scrub and rinse. Peroxide lifts deep stains better than vinegar does, and it is kinder to grout.
For mouldy grout, an oxygen bleach solution made to the label directions works well. Let it sit for 20 to 30 minutes, scrub and rinse. Oxygen bleach cleans without the harsh fumes of chlorine bleach. Keep chlorine bleach as a last resort: it can fade coloured grout, break down sealer and fill a small bathroom with fumes. Never mix bleach with vinegar or any acidic cleaner, and never use one right after the other on the same surface without a full rinse between them, because the mix releases chlorine gas.
Two habits protect the result. Wet grout always looks darker than dry grout, so let the shower dry for a few hours before you judge the colour. And once cleaned grout has dried fully, which takes about 24 hours, seal it with a penetrating grout sealer. Sealed grout absorbs far less water and stain, and it makes the next clean much easier. How to clean shower tile grout matters less when the grout stays sealed, because dirt sits on the surface instead of sinking in.
Removing Mould From Grout Lines and Silicone
Mould shows up first as black spotting in grout, pink film in corners or a musty smell near the floor line. Treat surface mould early. Spray hydrogen peroxide or a bathroom mould cleaner on the area, let it sit, scrub gently and rinse. A mould gel left on silicone for a few hours can clear surface growth without scrubbing.
Silicone has a limit. Mould that keeps returning inside the silicone bead lives below the surface, and no cleaner reaches it. The honest fix is to cut the old silicone out, let the joint dry fully, and apply fresh silicone. Fix the moisture source at the same time, or the mould returns: run the exhaust fan during every shower and for 20 to 30 minutes after, and leave the door or curtain open so the enclosure dries.
Mistakes That Damage Tiles and Grout
Most shower damage we repair traces back to a short list of habits:
- Spraying vinegar or lemon cleaners on marble, travertine or limestone. The etching is permanent and cleaning cannot undo it.
- Scrubbing with steel wool, scouring pads or stiff wire brushes. They scratch glaze, tear grout and mark polished stone.
- Mixing bleach with vinegar or acidic cleaners. The combination releases chlorine gas, which is dangerous in a small bathroom.
- Using too much cleaner and rinsing too little. Product residue dries into its own film and attracts fresh dirt.
- Skipping the drying step. Water left on tile evaporates and leaves its minerals behind, so the spots return at once.
- Skipping sealer. Unsealed grout and stone absorb water, stains and mould far faster than sealed surfaces.
Habits That Keep Shower Tiles Clean Longer
The best way to clean shower tile over the long run is to stop buildup before it hardens. A simple schedule does that:

- After each shower: squeegee the walls and floor. Thirty seconds of squeegeeing prevents most soap scum and hard water buildup. Run the fan during the shower and for 20 to 30 minutes after, or open a window.
- Once a week: spray the tiles with your material-safe cleaner, wipe them down and give grout lines a light scrub. A damp microfibre cloth after a steamy shower handles light weeks with no cleaner at all.
- Once a month: deep clean with the full step-by-step routine, including grout, and check the silicone and sealer while you work.
- Every 6 to 12 months: reseal grout lines and natural stone.
One change helps more than people expect: liquid body wash leaves far less soap scum than bar soap, because bar soap carries the fatty acids that build the film.
When Cleaning Is No Longer Enough
Some problems sit below the surface, and no cleaner reaches them. Knowing how to clean shower tiles also means knowing when to stop cleaning and start repairing. Call a tile professional when you see these signs:
- Grout that cracks, crumbles or falls out of the joint
- Tiles that feel loose or sound hollow when you tap them
- Mould that returns within days of a deep clean
- Silicone that stays black after cleaning, or peels away from the joint
- Soft, spongy areas in the wall or floor around the shower
Cracked grout and loose tiles let water behind the tile, where it damages the wall and the waterproofing layer. At that point the shower needs regrouting, tile repair or a rebuild of the failed section, not a stronger cleaner. BGM Construction handles shower tile installation and repair and full tile installation services across the Niagara Region, from our base in Thorold. A short inspection tells you whether cleaning, regrouting or new tile is the right fix.
Frequently Asked Questions
What is the best way to clean shower tile?
The best way to clean shower tile is to match the cleaner to the material, then give it time. Wet the tiles with warm water, spray diluted vinegar for ceramic or porcelain, or a pH-neutral cleaner for stone, let it sit for 10 to 20 minutes, scrub gently, rinse fully and dry. Weekly light cleans with this routine prevent the heavy buildup that tempts people toward harsh products, and harsh products cause most of the damage we repair.
How do you clean bathroom grout?
The short answer to how to clean bathroom grout is a paste and a small brush. Spread a baking soda and water paste along the lines for routine cleaning. For stained grout, mix baking soda with 3 percent hydrogen peroxide, let it sit for 10 to 15 minutes, scrub along the line with a grout brush or toothbrush, and rinse. Let the grout dry fully before you judge the colour, because wet grout always looks darker. Seal the grout once it has dried, about 24 hours later, so the result lasts.
How do you clean grout without damaging it?
You clean grout without damaging it by staying gentle and patient. Use soft brushes, never wire brushes or scouring pads. Scrub along the grout line instead of across it. Dilute acidic cleaners, keep them off the grout where you can, and rinse them away fully. Give the cleaner dwell time so chemistry does the work instead of force. Skip chlorine bleach on coloured grout, because it fades colour and eats sealer. A grout brush, a mild paste and 15 quiet minutes clean more grout than hard scrubbing ever will. That is the whole secret of how to clean grout without damaging it: patience does the work, not force.
What should you use for cleaning bathroom tiles?
Use the cleaner your tile material allows. Glazed ceramic and porcelain take diluted white vinegar, dish soap in warm water, or baking soda paste for stains. Natural stone such as marble and travertine takes only a pH-neutral cleaner made for stone, because acids etch it and bleach breaks down its sealer. Glass tile takes a non-abrasive glass cleaner. When you do not know the material, start with warm water and a few drops of dish soap, the mildest option, and test any stronger product on a hidden spot first.
How often should you clean shower tiles?
Clean shower tiles lightly once a week and deeply once a month. Squeegee walls after each shower, spray and wipe tiles weekly with a material-safe cleaner, and scrub grout during the monthly deep clean. Reseal grout and natural stone every 6 to 12 months. A shower that gets heavy daily use may need its deep clean every two to three weeks, while a guest bathroom can stretch the schedule. Steady light cleaning beats rare, aggressive cleaning every time.
Clean tiles come down to two things: the right cleaner for the material, and small habits repeated often. Match the method to your tile, keep grout and stone sealed, and your shower stays bright with modest effort. When the problem turns out to be failed grout, loose tile or water damage rather than dirt, contact BGM Construction or call +1-365 524 1898. We will tell you plainly whether the shower needs cleaning, regrouting or new tile.
What Our Clients Say
BGM Construction LTD holds a 5.0 rating on Google, from 9 Google reviews at the time of writing. Those reviews were left by our customers across the Niagara Region, for tile, marble and renovation work.
